×
How to Implement an SEO-Friendly Site Structure
13 February 2020
By Sophie Barber
Some people believe SEO is a quick fix that you can implement easily on top of an existing website. Just sprinkle a few keywords here and there and you’re good to go, right? Not quite.
In actual fact, good SEO practice starts with the structure of your website. Web pages are discovered and indexed by web crawlers, such as the Googlebot, and this allows search engines to return these pages in relevant search results. However, if the architecture of your website is overly complicated, Google will find it much harder to crawl your site, find key web pages and assign context and value to those pages.
Think of it like someone telling an anecdote – if they keep it simple and clearly link everything together, it will go down a treat. If they embark on a number of tangents and end up on another topic entirely, people just end up confused and wishing they’d never started listening.
With that in mind, we’ve created a step-by-step guide so that you can easily implement an SEO-friendly site structure!
1) Identify your key categories
The first stage when creating your SEO site architecture is to identify what you actually want to include. Most websites will organise their content into key categories and subcategories based on what these can offer the user.
For an e-commerce website, this will be your product categories, subcategories and products. For a brochure website, you will want to identify your overarching service categories and any specific services that fall underneath these. For a blog or news site, this will include the categories and subcategories of editorial content that you feature.
As an example, a website selling shoes might have women’s, men’s and children’s as the key overarching categories, with subcategories underneath those such as trainers, boots and sandals. Or, a website for an events planning agency might have overarching categories of the different event types, such as weddings, private parties and corporate events, and then subcategories within those like ‘awards ceremonies’ or ‘venue search’.
Once you have an idea of what should be included, it’s important to do your keyword research before nailing down your final categories. This is because the final layout of your site should be informed by and reflect the intentions and patterns of how people search.
2) Carry out keyword research around those categories
The next step is to take these categories and see the types of language people are using when they look for them. For example, you might refer to a service you offer as (x) but people are actually searching for (y). Google Keyword Planner can be a really valuable tool here, but there are others out there such as Moz’s Keyword Planner or even just the ‘related searches’ featured at the bottom of a search engine results page.
Make a note of the different keywords you find and group these into themes and sub-themes. Observe the type of language that is used for each and use this to finalise the different pages you want on the website. It’s also important to try and understand the user intent behind a search term. This can be gauged by looking at the types of results Google is returning for that query. Do the top pages contain long-form, informative content or is Google returning short-form content such as product pages? Use this information to guide how you will optimise for these keywords.
As Google’s algorithms have become more sophisticated, SEO has become less about optimising for one single keyword and more about semantic optimisation: understanding the intent behind a query and producing a good quality ‘answer’ to it. It is, therefore, sensible to organise your keywords into clusters of keywords with the same meaning or intent behind them. So, group the keywords you find into categories and this selection of phrases will inform the content you write for that particular page.
Related article: SEO for Startups: Four Steps to Success
3) Plot out a hierarchy for your site
Now you’ve identified your categories, you can plot out the final hierarchy for your site.
First of all, it can be useful for both you and/or your web developer to do this visually. The homepage will be at the top, followed by main key pages such as ‘services’, ‘about’, ‘blog’ and ‘contact’. Then underneath services, you will have your key service categories, and underneath those you will have the sub-categories.
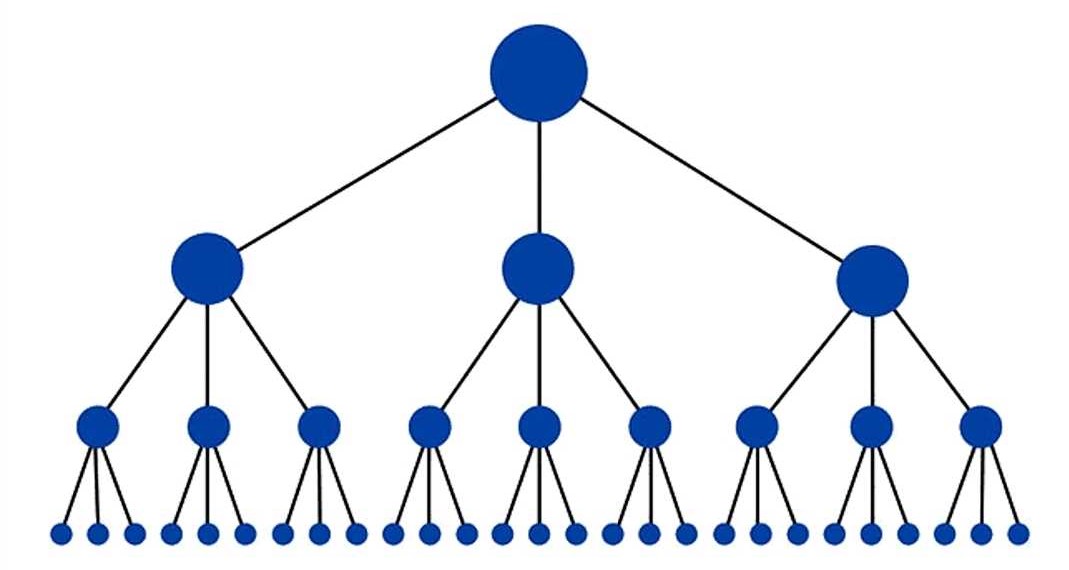
Image source: Neil Patel
It’s best to keep this as simple as possible, especially if you are creating a brochure site. You want to showcase everything you offer, but if you end up with 7 categories which each have 14 sub-categories, you will end up with an overwhelming number of pages likely with a high degree of overlap between them. This will ultimately make it harder to understand your website, both for crawl bots and for the user!
4) Create a URL structure which reflects your planned hierarchy
Once you’ve nailed down your website architecture, creating your URL structure will be easy. Your homepage will be something along the lines of https://www.domain.com and then your other pages will follow that with folders and subfolders.
The first layer of categories will be /category-1/ and then underneath that will be its allocated sub-folders: /category-1/sub-category-1/. For example, if we take the events planning example from earlier, you might have an overall service page for weddings as /weddings/ and then sub-categories underneath that as /weddings/venue-search/ and /weddings/styling/.
It’s important to use URL folders in this way, rather than having all the pages on the same level, because it indicates to the search engine which the most important pages are. Also, sub-category pages typically have similar content to their parent category page so the URL structure helps search engines determine which is the more appropriate page for generic queries.
5) Make sure the site navigation reflects your structure
Again, once you already have the architecture and URLs plotted out, it will be easy to decide on your site navigation. You may not want all of the pages in the header and some will perhaps go in the footer, such as the blog, shipping information or testimonials page.
However, your key services or product categories should appear in the main header of the page, with the sub-categories most likely appearing in a drop-down menu. You also want the contact page to be easily visible to the user in the header (unless you really don’t want people to get in touch with you!)
All of your key pages should be easily accessible from the homepage in some way as this internal linking will help crawl bots to find them (more on this below).

6) Utilise a pillar structure for your blog
We’ve mainly been discussing service or product category pages, but it’s also important to consider implementing an architecture for your blog, especially if you plan on publishing a lot of content. This will help organise your blog by topics and make it easier to understand, both for crawl bots and for users.
Content management systems such as WordPress usually allow you to create categories for your blogs anyway, so that next stage is to actually reflect this categorisation in the blog URLs. For example, if you were a design agency and your blog had sections on graphic design, website design, print design and branding, you could split your blog into these different sections.
Instead of /blog/web-design-trends-for-2020/ you would have /blog/web-design/web-design-trends-for-2020/.
By creating these archives of content within clear topic clusters, it helps to demonstrate a level of expertise in these areas.
7) Develop an internal linking structure
Once your URL structure is in place, the next step in reinforcing the layout of your site is to include a good network of internal links. Crawl bots navigate through websites by following its link structure and this is what allows them to discover all of the pages. So, if there are pages in your site which are not linked to at all, they will not be discovered.
According to Moz, internal links are important for the following reasons:
– They allow users to navigate a website.
– They help establish information hierarchy for the given website.
– They help spread link equity (ranking power) around websites.
Internal links also tell crawl bots which the most important pages are, hence they establish the ‘information hierarchy’. For example, a homepage will likely have the most links pointing to it, whereas a privacy notice won’t have many. A good way to reinforce the importance of certain category or service pages is by linking to them from relevant blog posts.
Breadcrumbs are still a popular method of improving internal linking and they are often useful for the user, especially on content-heavy websites.
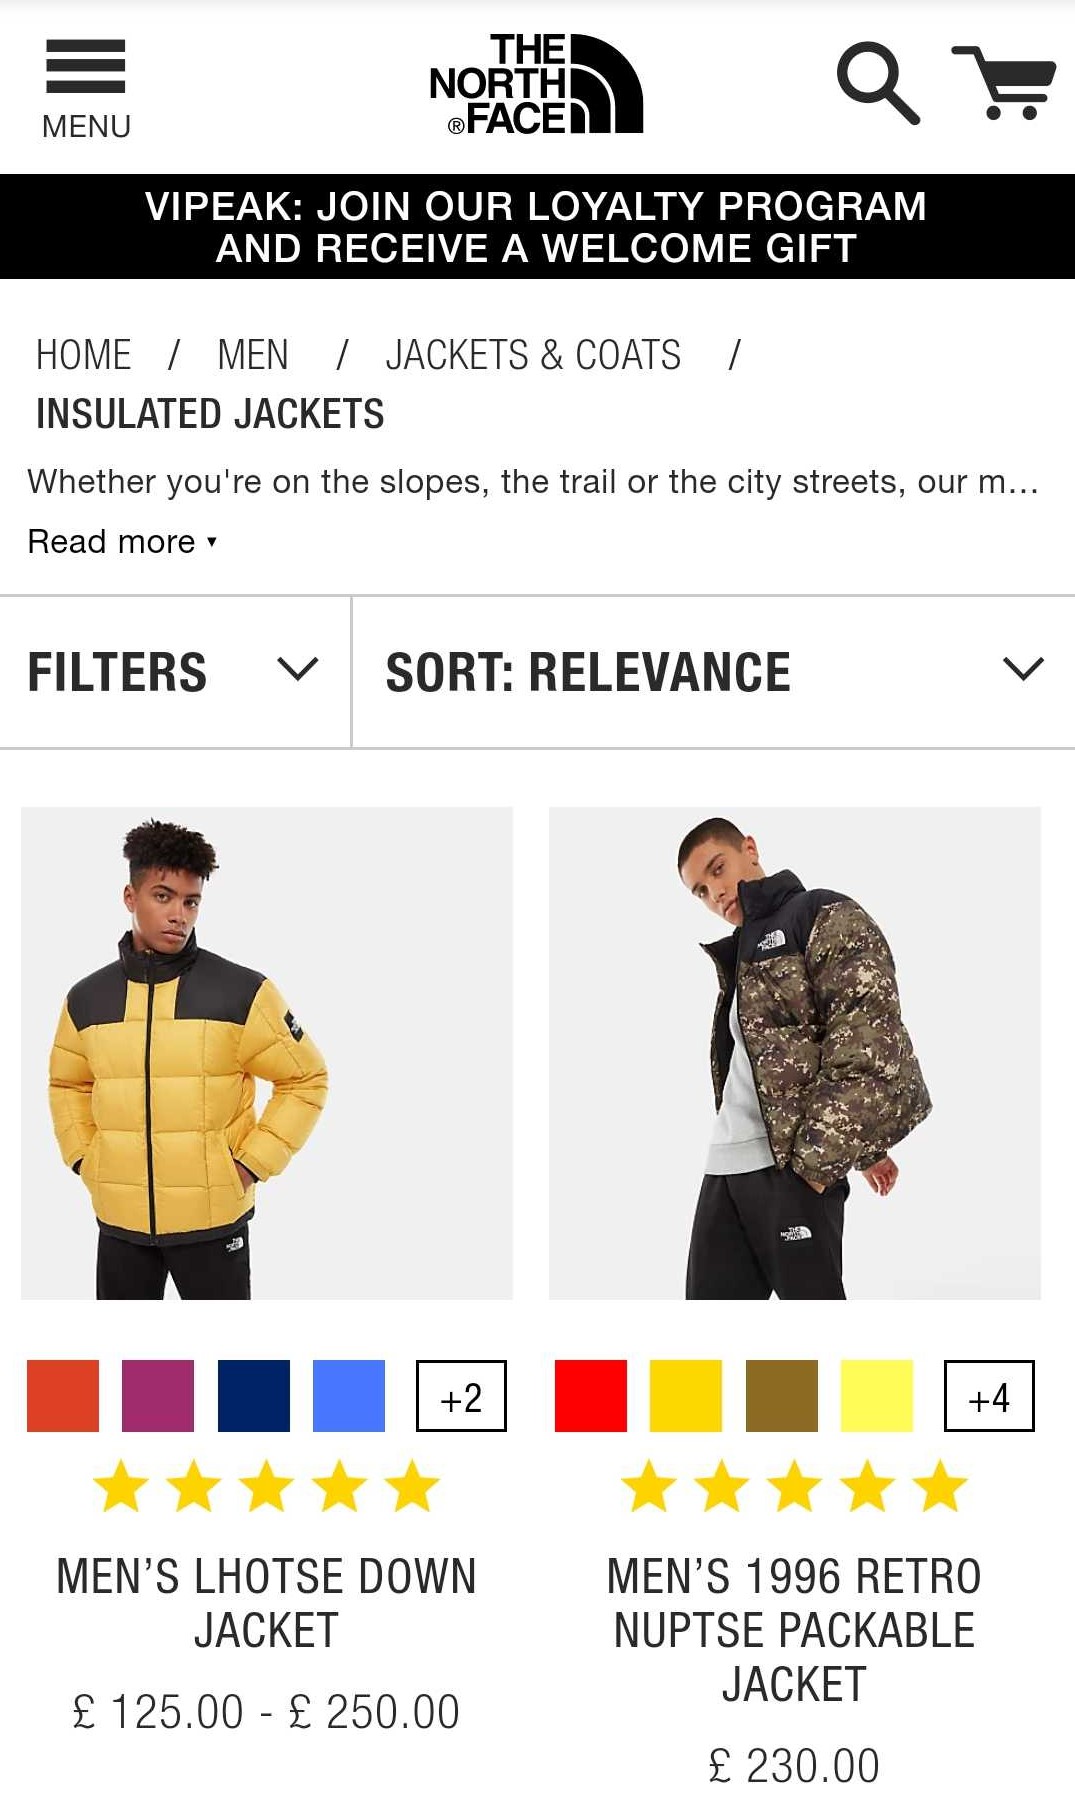
Example of breadcrumbs on the North Face website – improves internal linking and allows the user to navigate back and forth more easily.
8) Try to avoid duplicate content
A final point on implementing an SEO-friendly site structure is to avoid duplicate content where possible. Although this may not seem directly relevant to the website architecture, it can confuse crawl bots when they come across two pages with the same content and nothing to tell them which is more important or what separates them. This can mean that neither page has the potential to rank in the search engine results.
If you do need to implement duplicate content somewhere on your website or across different websites, you should make sure to include a canonical tag. This is a piece of code which tells search engines which version of the page is the most important and should, therefore, appear in search results.
We hope this guide to creating and implementing an SEO-friendly site structure has made the process a little clearer for you! If you have any questions at all, do feel free to drop us an email.
SB.